
Here's my latest contribution for the super cool blog at Creative Live. Enjoy!
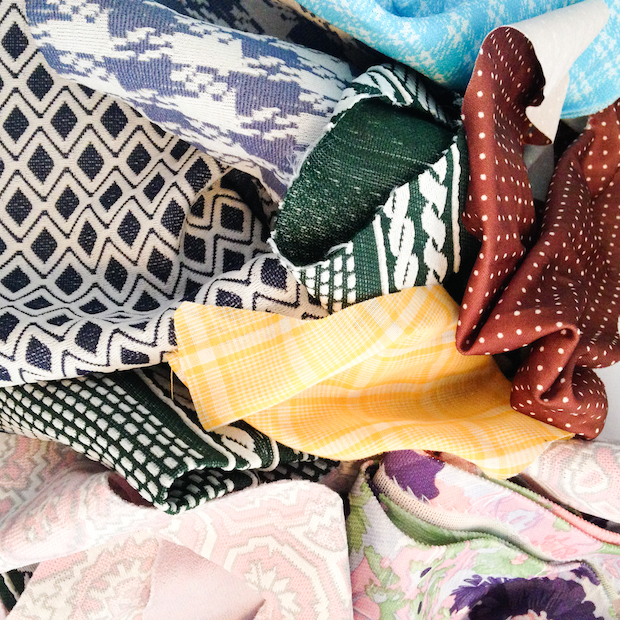
As a vintage shop owner and an avid crafter, you can imagine how many bags of vintage scraps I’ve accumulated. If I find a beautiful dress in utter disrepair, I try to find a way to make its incredible fabric last by using scraps as gift wrap or making a pennant banner, for instance.
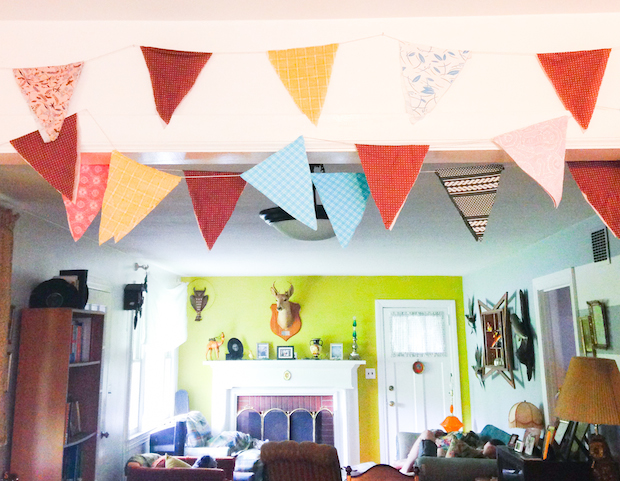
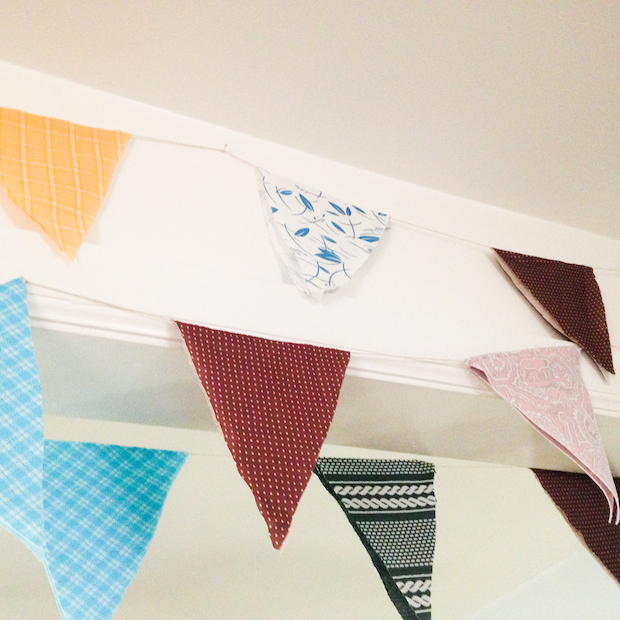
With this banner (or “bunting,” as it’s called in the U.K.), nearly 100 percent of the scraps came from my grandmama’s dresses. I inherited a bunch of ‘60s numbers that were too long and baggy—but the fabrics were all incredible, whimsical patterns worth celebrating—so I turned them into fun mini dresses and kept the scraps. Not long after that, I decided to use the scraps to make a fun pennant banner for a friend’s wedding. It was a hit and is now hanging between my kitchen and dining room looking mighty festive. I bet grandmama would get such a kick out of how I’m bringing her goods back to life. Just imagining the history behind vintage fabric makes me savor it even more.
A pennant banner is super easy to make, but it is quite time consuming. You’ll be spending most of your time cutting triangles, but it can also be therapeutic. Put on your favorite Pandora station, step away from the computer and enjoy a few hours of honest-to-goodness crafting.
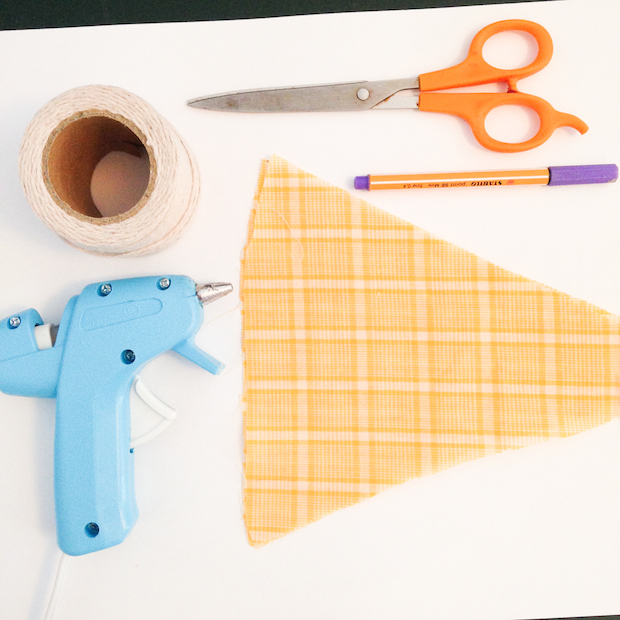
Here’s what you need:
Card paper
Good scissors
Glue gun
Pen
Measuring tape
Twine
Fabric scraps
First, gather your scraps. Keep a lookout for cool vintage fabrics at thrift stores. Even if that fabric is on a dress that doesn’t fit, remember you can still take a pair of scissors to it.
Decide how big you want your triangles to be, draw it on the card paper and cut it out. This will be your template for all of them.
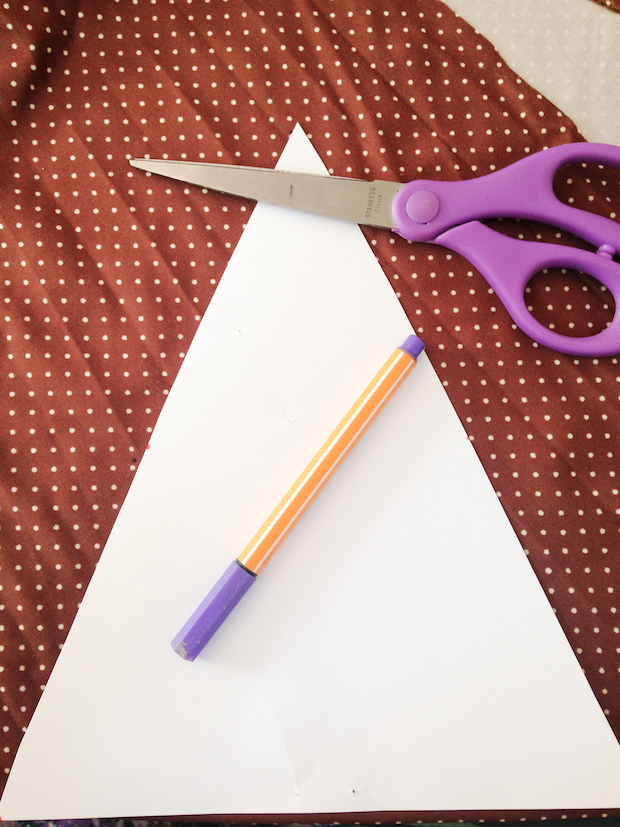
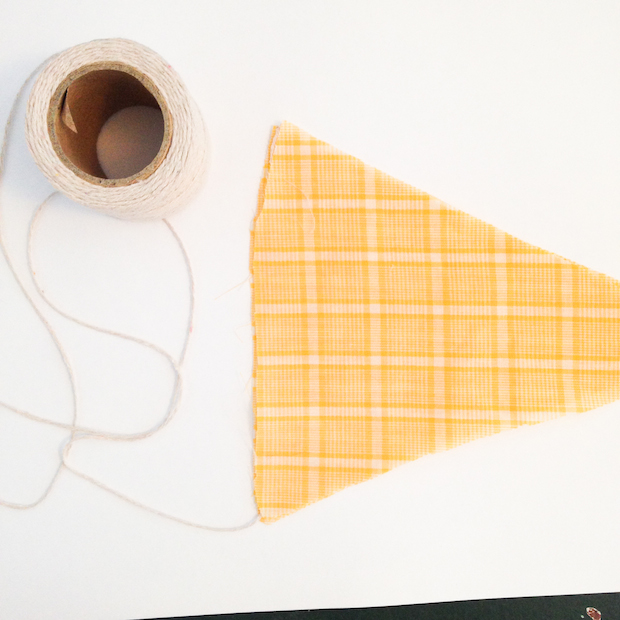
When cutting the triangles, remember you can mix and match to your heart’s desire. I liked having the same fabric to glue back to back, and it’s also easier to cut two of the same fabric at the same time. I cut most of mine from the seam, which allowed me to simply fold them over when gluing the edges together. Once you have however many triangles you want, ready the twine, measuring tape and the glue gun.
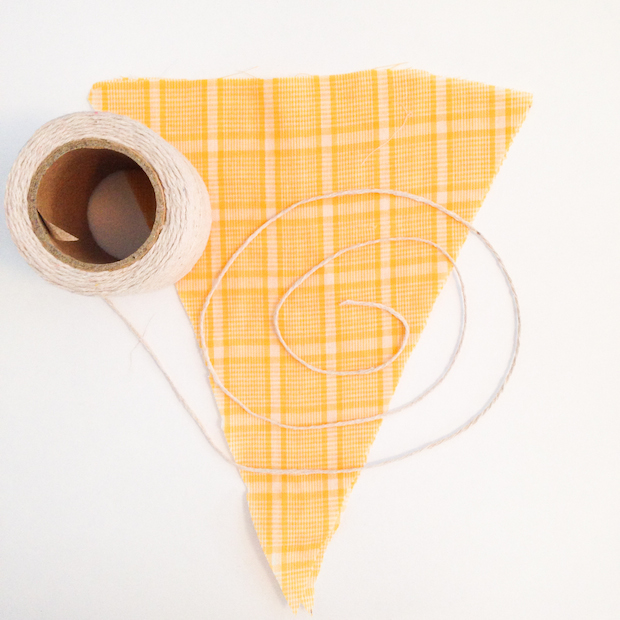
Line the non-pointed edge with hot glue

Quickly and neatly, place the twine on top of the hot glue. Don’t cut the twine from the spool until the end.
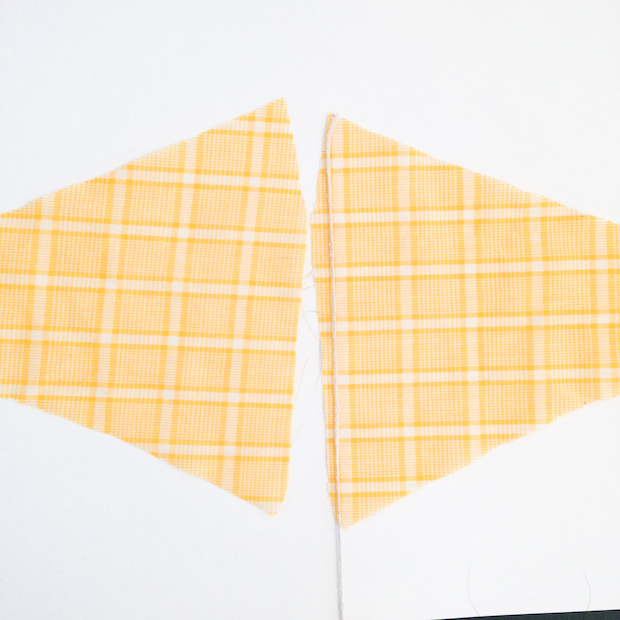
Place the matching triangle on top and press down for a few seconds to secure it. Measure the distance between the first triangle and the next one you’ll do, and be sure to keep measuring each time to ensure the distances are all equal.
Repeat until you have the banner length you want. Hang it up and above a window, an archway, along a wall or at a wedding! Remember, these are good gifts to give, as well. You can also make pennant banners really easily out of paper. I did one for a baby shower once using a vintage children’s storybook.
Want more?
OK! Here are 4 more simple ways to upcycle vintage scraps
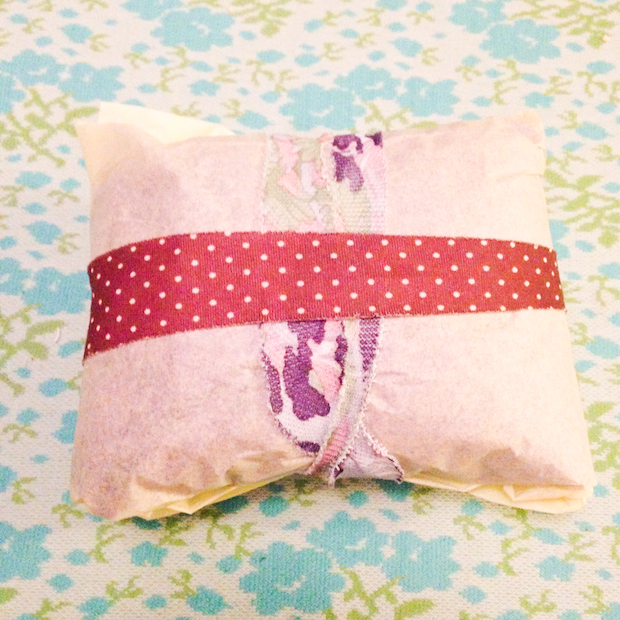
Gift wrap:
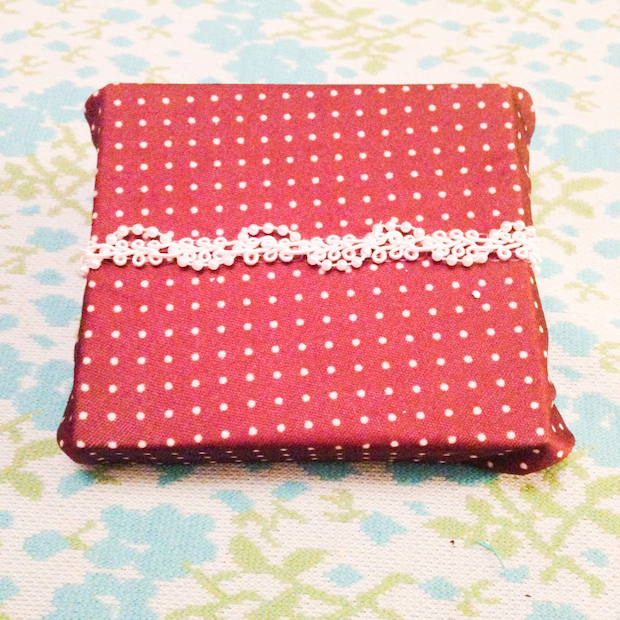
Gift tie – I always wrap my shop orders in tissue paper and tie it with a vintage scrap of some sort.
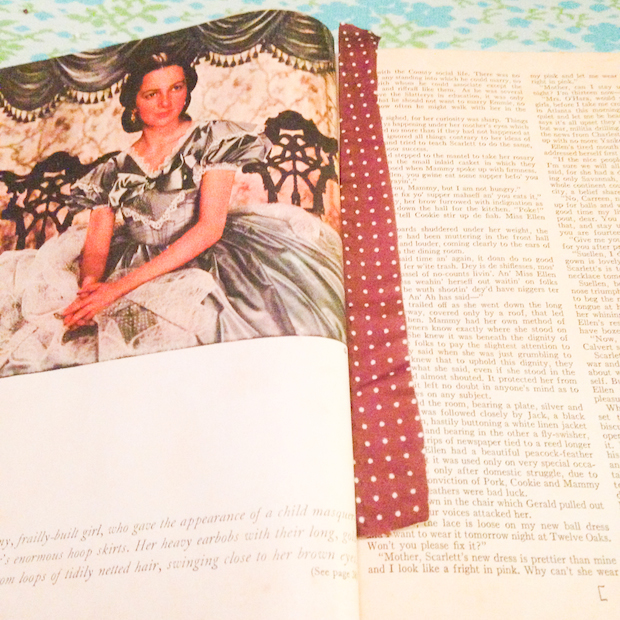
Bookmark:
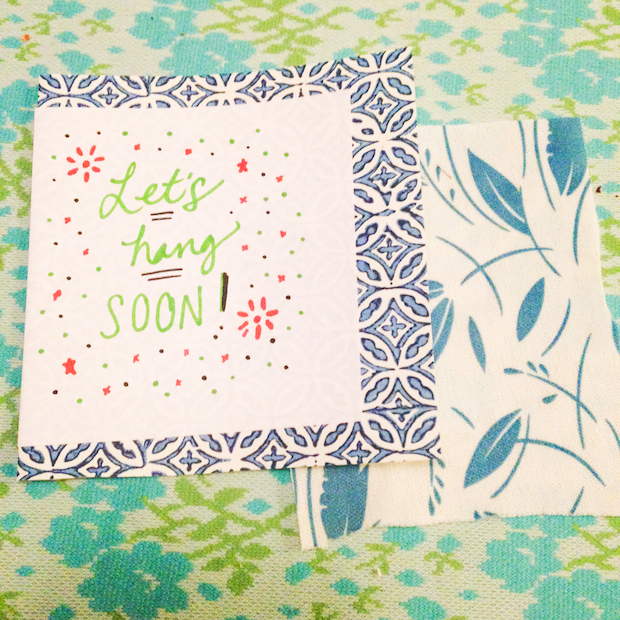
Card inserts:
Look out for my next blog about ideas for repurposing vintage scarves, including how to make a scarf corsage!